HOW TO CREATE GOOGLE WEBSITE FOR FREE: STEP-BY-STEP GUIDE
Yes, you heard it right! You can create your own website for free with Google Sites. Creating a free website with Google Sites is a straightforward process that requires no coding knowledge. Here’s a step-by-step guide to help you build your website:
Step 1: Sign In to Google Sites
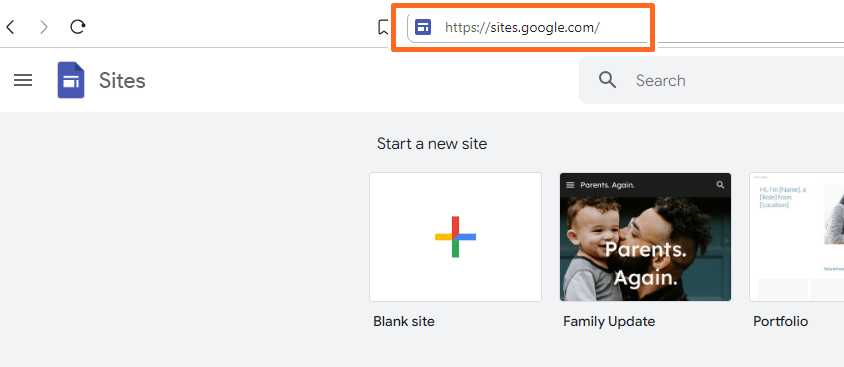
- Open your web browser and go to https://sites.google.com/.
- Sign in with your Google account.
Did you know you can create a website for free?
Additional Tips
1. Keep it Simple: Google Sites is designed for simplicity, so take advantage of the straightforward interface.
2. Consistent Design: Use the same theme and font styles across all pages to maintain a professional look.
3. Regular Updates: Keep your content fresh and updated to engage your visitors.
By following these steps, you can easily create a functional and visually appealing website for free using Google Sites.
Step 2: Create a New Site
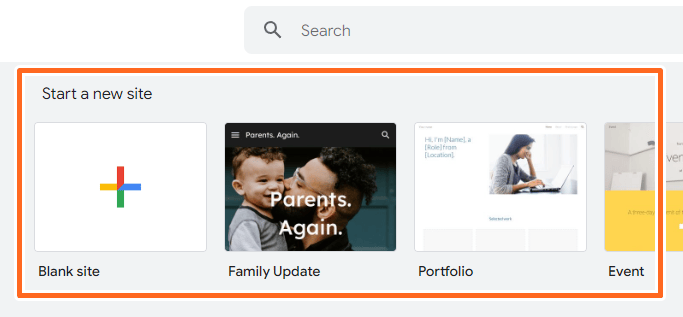
- Once logged in, click on the "+" button at the bottom-right corner to create a new site.
- Choose a template or start from scratch by selecting Blank.
Step 3: Customize Your Site
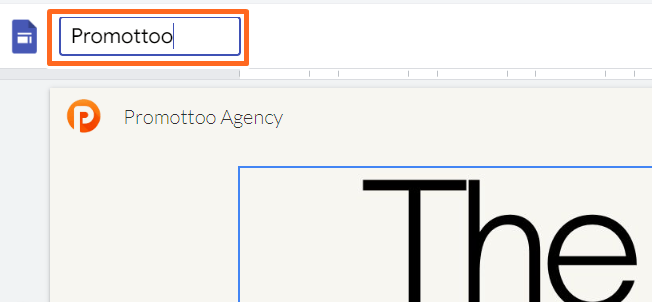
- Site Name and Page Title: Click on the text boxes to name your site and add a title to your homepage.
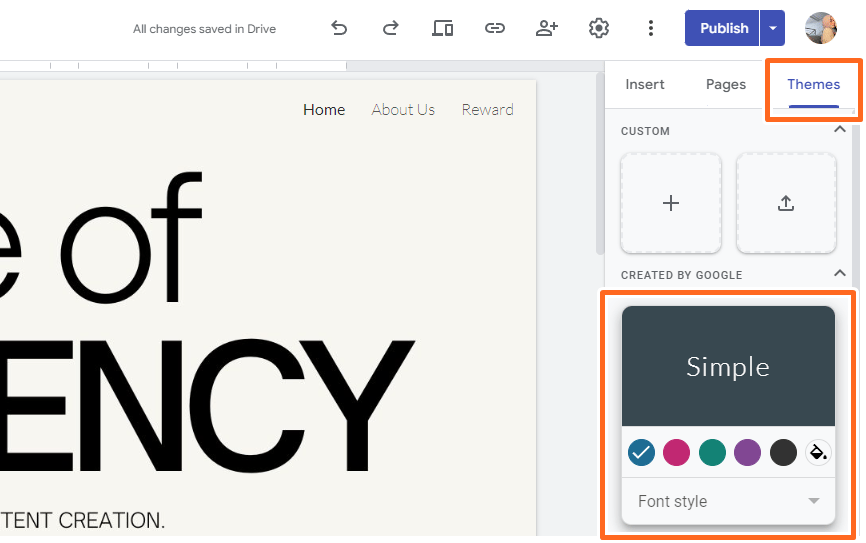
- Theme: Select a theme from the right-hand panel to set the look and feel of your website.
Step 4: Add Pages
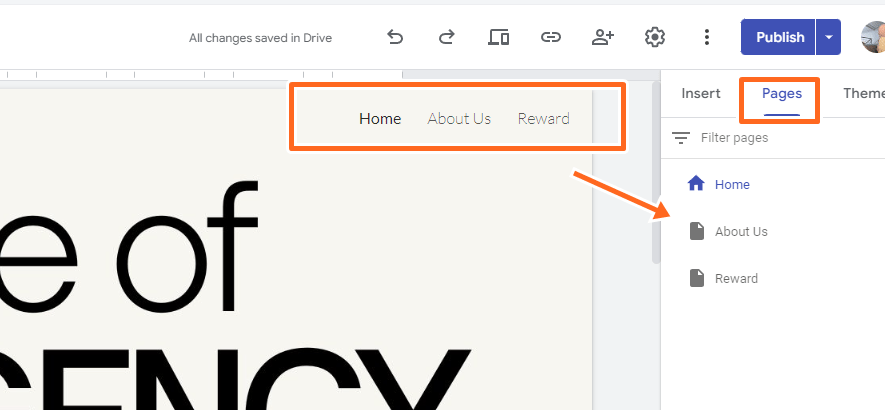
- Click on the Pages tab on the right-hand panel.
- Click the "+" button to add new pages (e.g., About, Services, Contact).
- Name your pages accordingly.
Step 5: Insert Content
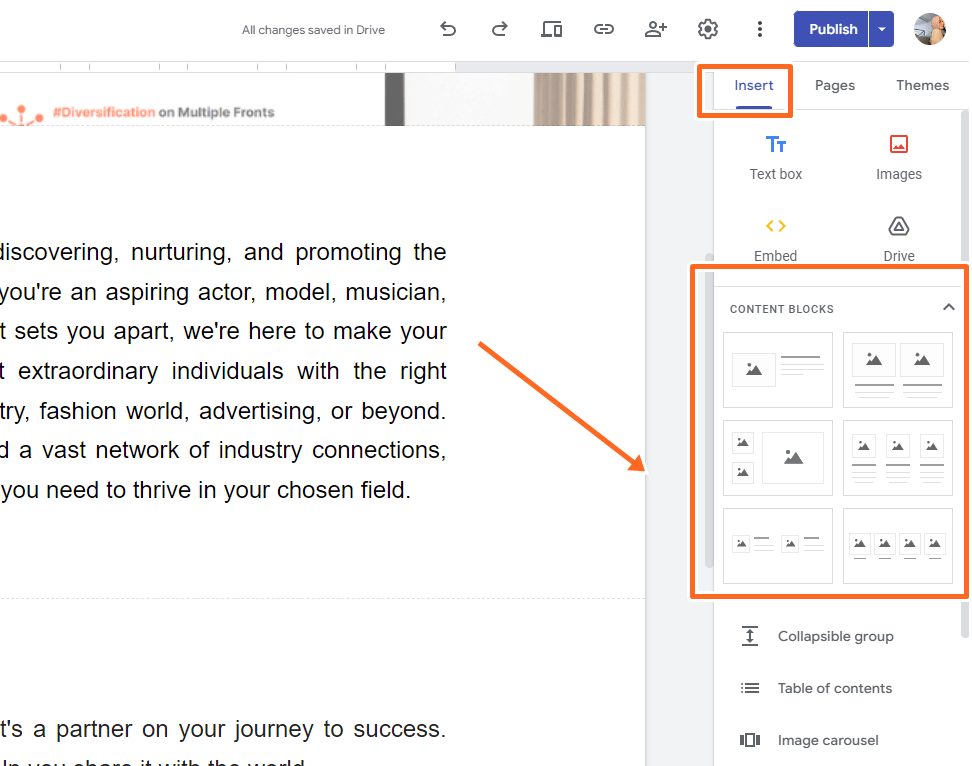
- Click on the Insert tab on the right-hand panel.
- Add text boxes, images, embed links, and other elements by dragging and dropping them into your site.
-You can begin entering your business information and any details you want customers to see in the text box & images in the content block.
Step 7: Publish Your Site
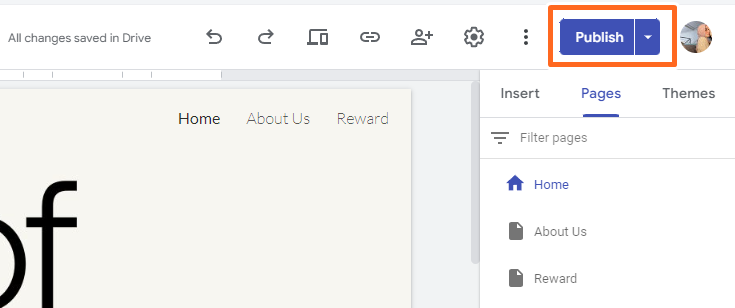
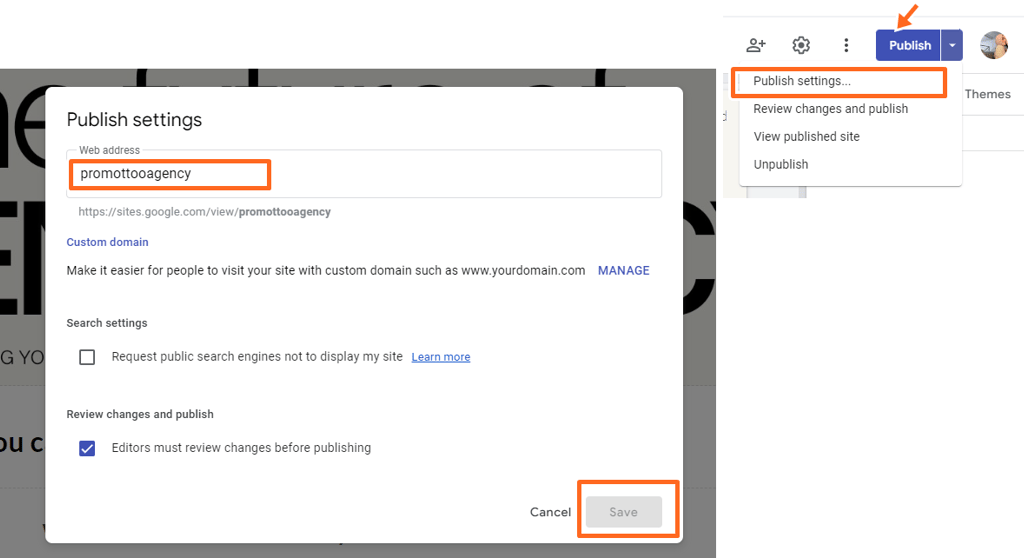
- When you’re satisfied with your website, click the Publish button at the top-right corner.
- Choose a web address for your site and adjust any visibility settings.
- Click Publish again to make your site live.

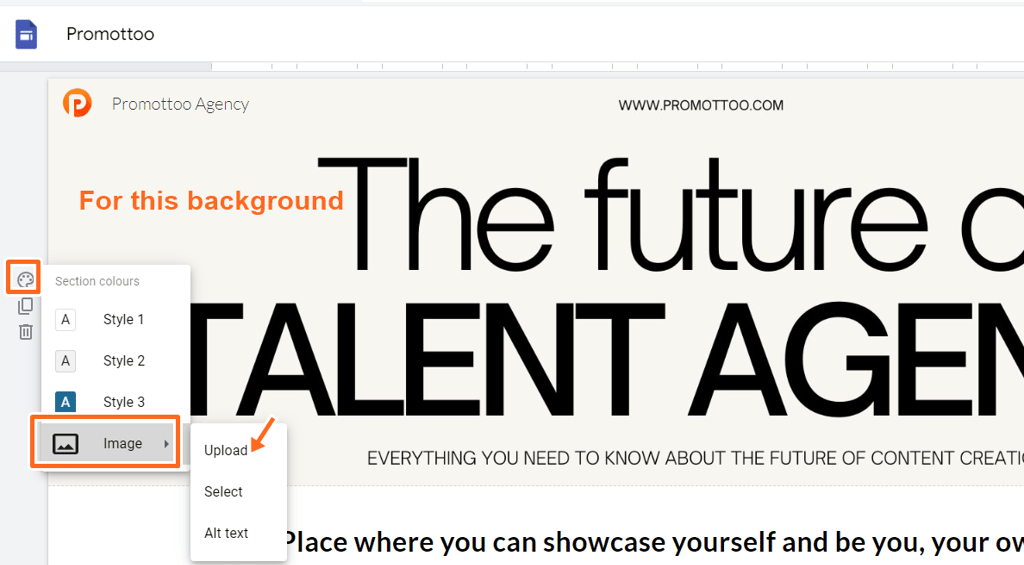


So that’s it! Step-by-step, you can create your own website. You can get free stock pictures from Freepik and Pexels as they are all free and have no copyright issues. I will upload my next blog on free stock pictures for business that I have used so far, so stay tuned!
You can refer to the website I created using Google Sites here:
https://sites.google.com/view/promottooagency/home?authuser=0. If you have any questions, just hit me up on our social media (FB, IG, TikTok)! Follow us to show your support, and we will keep uploading blog posts that will help not only business owners but also content creators/influencers.
Step 8: To collaborate/Share editing duties
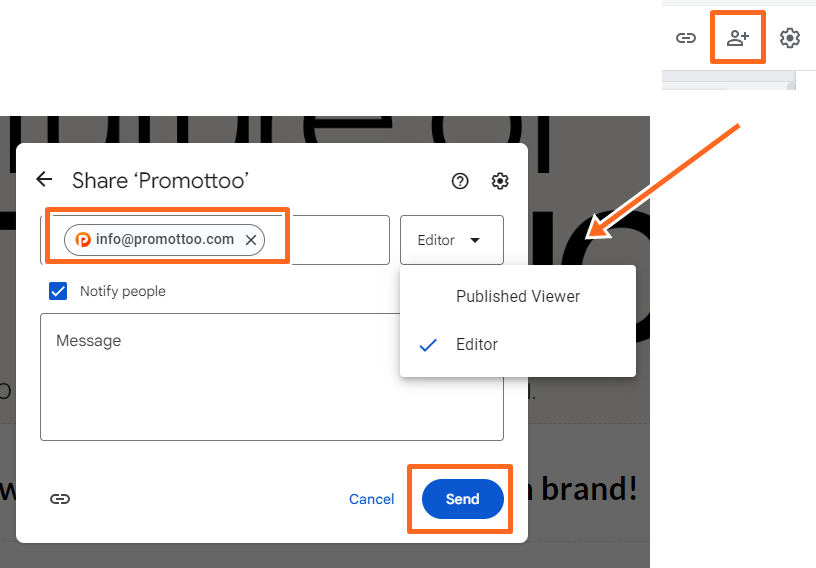
- Click the person icon with a plus sign at the top of the editor. Add your co-creator's name or email address. Choose "Editor" to allow editing and content adding, or "Published Viewer" for viewing drafts only. Click "Send" to invite them.

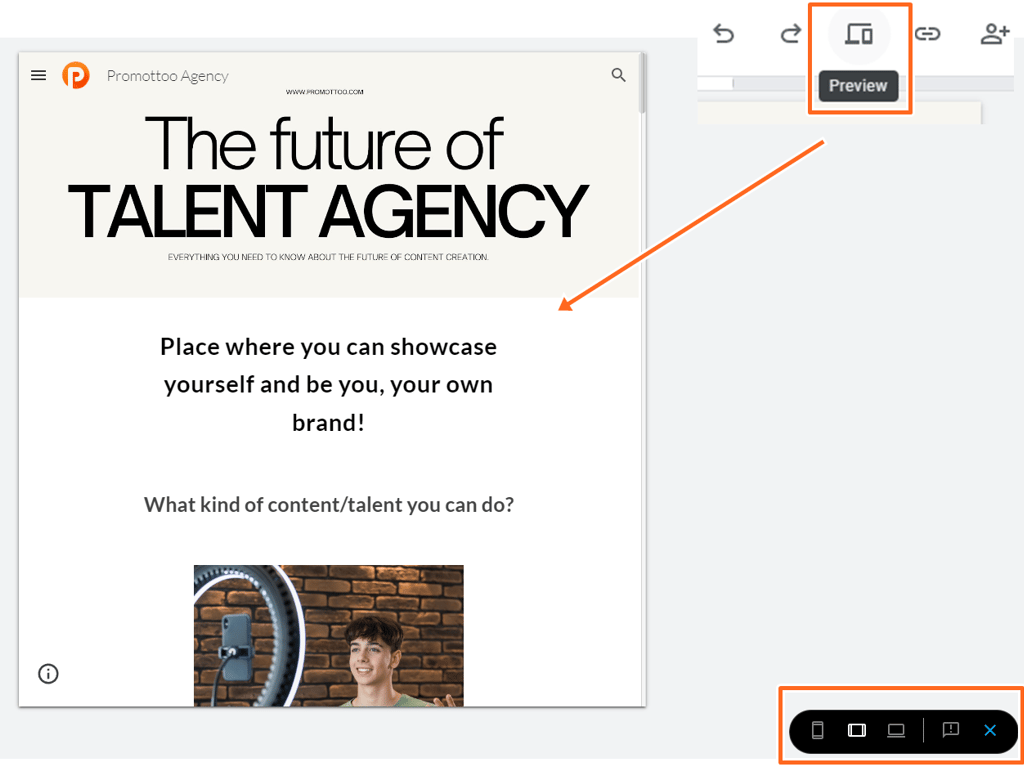
Step 6: Click the Preview icon to view the appearance of your website.
- Click the Preview icon (a laptop with a cell phone) at the top of the page to see how your site will look. Use the screen size options at the bottom to view your site on a phone, tablet, or computer. Click the X to exit the preview and return to the editor.
